Introduction
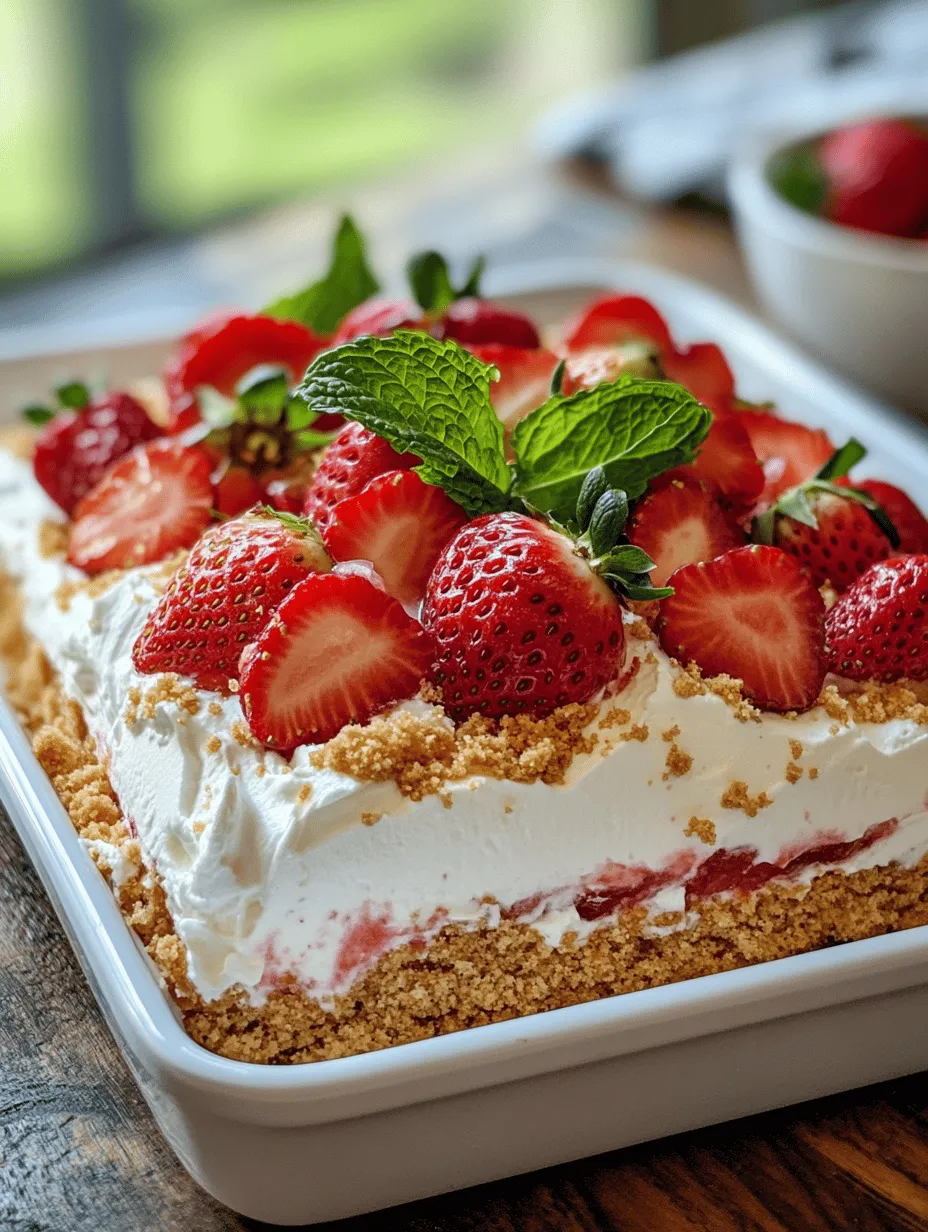
Icebox cakes are a delightful and nostalgic dessert that has been a staple in American homes for decades. These no-bake cakes are beloved for their simplicity and refreshing flavors, making them an ideal treat for hot summer days or any occasion that calls for a sweet, creamy indulgence. Among the many variations of icebox cakes, the Heavenly Strawberry Icebox Cake stands out with its vibrant strawberries, luscious cream, and satisfying graham cracker layers.
This dessert perfectly balances sweetness and creaminess, appealing to both kids and adults alike. The Heavenly Strawberry Icebox Cake is not only easy to prepare but also visually stunning, with layers of fresh strawberries peeking through the creamy filling. Whether you’re hosting a summer barbecue, celebrating a birthday, or simply enjoying a casual family dinner, this dessert is sure to impress your guests and leave them asking for seconds.
Understanding Icebox Cakes
At its core, an icebox cake is a layered dessert that typically consists of cream, cookies, or graham crackers, and fruit. The name “icebox” comes from the traditional method of refrigeration that allows the cake to set and the flavors to meld. Icebox cakes gained popularity in the United States during the 1920s and 1930s when home refrigeration became more common, allowing for the creation of these delicious no-bake desserts.
The appeal of no-bake desserts, particularly icebox cakes, lies in their easy preparation. With minimal cooking involved, you can whip up a delicious treat without turning on the oven, making them perfect for sweltering summer afternoons. The layering technique used in icebox cakes creates a beautiful and eye-catching presentation while also providing a unique texture experience. As the layers meld together in the refrigerator, the graham crackers soften, and the flavors develop, resulting in a rich and satisfying dessert that’s more than the sum of its parts.
Ingredient Breakdown
Fresh Strawberries
The star of the Heavenly Strawberry Icebox Cake is undoubtedly the fresh strawberries. Their vibrant color and natural sweetness elevate the cake, providing a burst of flavor in every bite. When selecting strawberries, look for plump, firm berries with a deep red color and fresh green tops. Avoid any that are overly soft or have blemishes, as these can affect the taste and texture of your cake.
For the best flavor, try to use strawberries that are in season. They will be sweeter and more aromatic than those that are out of season. If you’re planning to make the cake ahead of time, consider slicing the strawberries just before assembly to keep them fresh and prevent excess moisture from seeping into the layers.
Heavy Whipping Cream
Heavy whipping cream is another essential ingredient in this recipe, as it contributes to the cake’s rich and creamy texture. When whipped, heavy cream transforms into a light and fluffy topping that envelops the layers of strawberries and graham crackers. It’s important to use heavy whipping cream rather than lighter varieties, as the higher fat content (at least 36%) allows for better volume and stability when whipped.
If you’re new to whipping cream, there are a few tips to keep in mind. Start with chilled equipment—use a cold mixing bowl and beaters—to achieve the best results. Whipping cream can be sweetened to taste, but for this recipe, we will add powdered sugar, which helps create a silky texture without the grittiness that granulated sugar can sometimes impart.
Powdered Sugar
While granulated sugar can be used in whipped cream, powdered sugar is preferred in this recipe. Powdered sugar contains cornstarch, which helps stabilize the whipped cream and prevents it from deflating too quickly. Additionally, it dissolves easily, ensuring a smooth texture without any graininess. The amount of sugar you incorporate can be adjusted based on your sweetness preference, but a moderate amount will enhance the flavor of the cream without overpowering the fresh strawberries.
Graham Cracker Crumbs
Graham cracker crumbs serve as the base for the Heavenly Strawberry Icebox Cake, providing a delightful crunch that contrasts beautifully with the creamy and fruity layers. They are typically mixed with melted butter to create a crumbly crust that holds the layers together. For those with gluten sensitivities, there are several gluten-free alternatives available, such as crushed gluten-free cookies or almond flour-based options. Choosing the right base can cater to various dietary needs without sacrificing flavor or texture.
Optional Garnishes
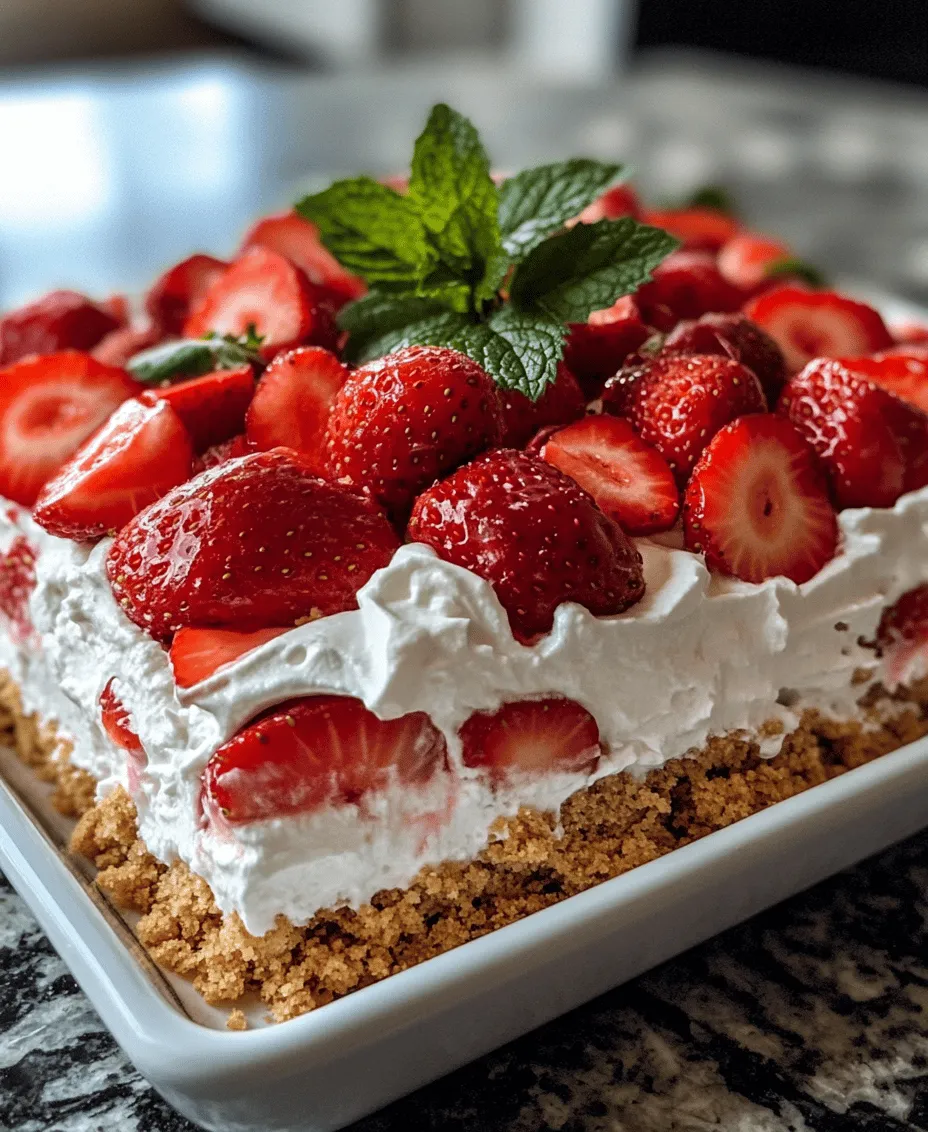
To elevate the presentation of your Heavenly Strawberry Icebox Cake, consider adding optional garnishes such as extra fresh strawberries or a sprig of mint leaves. These not only enhance the visual appeal of the dish but also add a refreshing touch that complements the flavors of the cake. A dusting of powdered sugar on top can also provide a lovely contrast against the vibrant strawberries, making your cake a true showstopper at any gathering.
Step-by-Step Instructions
Preparing the Strawberries
1. Wash and Dry: Start by washing your fresh strawberries under cold water to remove any dirt or pesticides. Gently pat them dry with a paper towel or clean kitchen cloth to ensure they are completely dry before slicing.
2. Hull the Strawberries: Use a paring knife or a strawberry huller to remove the green tops and the white core of each strawberry. This will leave you with the juicy red fruit, ready to be sliced.
3. Slice: Depending on the size of your strawberries, you can either halve them or slice them into quarters. Smaller strawberries can be halved, while larger ones might be better sliced into quarters to ensure even distribution throughout the cake.
4. Sweeten (Optional): If your strawberries are not as sweet as you would like, you can sprinkle a little granulated sugar over them and let them sit for about 10-15 minutes. This will draw out their juices and create a natural strawberry syrup, which adds even more flavor to your icebox cake.
With your strawberries prepared, you’re ready to move on to assembling the layers of your Heavenly Strawberry Icebox Cake. This step is where the magic truly happens, as you combine all the ingredients to create a visually stunning and delicious dessert.
Stay tuned for the next segment, where we will dive into the complete assembly process, layering technique, and finally, how to achieve the perfect set for this irresistible summer treat.
Maceration Process and Its Benefits
To elevate the flavors of your strawberry icebox cake, begin with the maceration process. This simple technique involves sprinkling sugar over hulled strawberries and allowing them to sit for a period of time. As the sugar draws out the natural juices, it creates a syrup that infuses the berries with sweetness and intensifies their flavor. Not only does this enhance the overall taste of the cake, but it also adds a delightful texture.
To macerate your strawberries effectively, follow these steps:
1. Hulling: Start by removing the green tops of the strawberries. This process, known as hulling, is essential for achieving clean slices and maximizing flavor. Use a sharp knife or a specialized hulling tool to carefully cut around the stem, ensuring the flesh remains intact.
2. Slicing: After hulling, slice the strawberries into even pieces. Aim for uniformity, as this will create a more visually appealing layer in the cake. Thinner slices will meld beautifully with the whipped cream, while thicker slices provide a satisfying bite.
Making the Whipped Cream
The whipped cream is the heart of your Heavenly Strawberry Icebox Cake, providing a luscious contrast to the strawberries. To whip cream to the perfect consistency, follow these steps:
1. Chill Your Equipment: Begin by chilling your mixing bowl and beaters. Cold tools help the cream whip faster and achieve a better volume.
2. Add Sugar and Flavoring: Pour in heavy whipping cream, along with sugar (typically granulated or powdered) and a splash of vanilla extract. The sugar not only sweetens the cream but also stabilizes it, preventing it from deflating.
3. Whipping Technique: Using an electric mixer or a whisk, start at a low speed to avoid splattering, gradually increasing to medium-high speed. Whip the cream until it thickens and forms soft peaks. This means that when you lift the beaters, the cream should hold its shape but still have a slight droop.
Common Mistakes to Avoid
While whipping cream may seem straightforward, there are common pitfalls to watch out for:
– Overwhipping: One of the most frequent mistakes is overwhipping the cream, which can lead to a grainy texture or, worse, turning it into butter. Stop whipping as soon as you reach soft peaks.
– Room Temperature Ingredients: If your cream is too warm, it will struggle to whip properly. Always ensure your cream is cold for the best results.
Layering the Cake
Once your strawberries are macerated and the whipped cream is ready, it’s time for the fun part: layering the cake. This process not only contributes to the aesthetic appeal but also ensures that every slice delivers a balanced bite of cream and fruit.
1. Layering Technique: Start with a base layer of graham crackers or sponge cake at the bottom of your serving dish. Follow this with a generous layer of whipped cream, then add a portion of the macerated strawberries. Repeat these layers until you reach the top of your dish, finishing with a layer of whipped cream and a few decorative strawberries.
2. Achieving Balance: The key to a stunning icebox cake is balance. Aim for equal proportions of graham crackers, whipped cream, and strawberries in each layer. This will ensure that every slice showcases the delightful interplay of flavors and textures.
Variations in Layering
Feel free to get creative with your layering! Here are a few ideas to personalize your dessert:
– Add Other Fruits: Consider incorporating blueberries, raspberries, or even sliced bananas for added flavor and color.
– Flavor Infusions: Mix some chocolate syrup or citrus zest into the whipped cream for a unique twist. This will add complexity and enhance the overall flavor profile.
Chilling the Cake
After assembling your cake, chilling is a crucial step that should not be overlooked. Chilling allows the flavors to meld together and gives the icebox cake its signature texture.
1. Importance of Chilling: The chilling process helps the graham crackers or sponge cake absorb the moisture from the cream and fruit, softening them while creating a cohesive dessert. This not only enhances the flavor but also helps the cake hold its shape when sliced.
2. Optimal Chilling Times and Conditions: Ideally, you should chill the cake in the refrigerator for at least 4-6 hours, but overnight is even better. Ensure the cake is well covered with plastic wrap or a lid to prevent it from absorbing any odors from the fridge.
Serving the Cake
When it’s time to serve your Heavenly Strawberry Icebox Cake, here are some tips to maintain its structure and presentation:
1. Cutting Technique: Use a sharp knife to cut through the layers cleanly. Wipe the knife between cuts to ensure pristine slices. A serrated knife works particularly well for this type of cake.
2. Pairing Suggestions: This dessert pairs beautifully with a variety of beverages. Consider serving it with a chilled glass of rosé, a refreshing lemonade, or even a scoop of vanilla ice cream on the side for an indulgent touch.
Flavor Variations and Customizations
The versatility of the Heavenly Strawberry Icebox Cake allows for countless variations to suit your taste preferences or dietary needs.
1. Fruit Variations: While strawberries are a classic choice, don’t hesitate to experiment with other fruits. Blueberries, raspberries, peaches, or even tropical fruits like mango can add a refreshing twist.
2. Whipped Cream Flavoring: Personalize your whipped cream by incorporating different flavors. You can add cocoa powder for a chocolatey version, or citrus zest (like lemon or lime) for a bright, zesty flavor.
3. Dietary Adaptations: For those looking for vegan or dairy-free options, use coconut cream instead of heavy cream, and substitute with plant-based graham crackers. There are also dairy-free whipped cream products available that can work wonderfully in this recipe.
Storing and Preserving the Icebox Cake
Proper storage is essential for preserving the freshness of your icebox cake.
1. Best Practices for Storing Leftovers: If you have any leftovers, ensure the cake is covered tightly with plastic wrap or stored in an airtight container. This will help maintain its moisture and prevent it from drying out.
2. Shelf Life: The cake can be kept in the refrigerator for up to 3-4 days. However, the texture may start to change as it sits, so it’s best enjoyed fresh.
3. Freezing Options: For those who wish to prepare the cake in advance, freezing is an option. Wrap the assembled cake tightly in plastic wrap and then in foil to prevent freezer burn. It can be frozen for up to a month. When ready to enjoy, thaw it in the refrigerator overnight before serving.
Conclusion
Making a Heavenly Strawberry Icebox Cake is a delightful and rewarding experience that yields a stunning dessert perfect for any occasion. The combination of macerated strawberries, light whipped cream, and soft layers of graham crackers creates a treat that is both elegant and simple to prepare.
Encourage your family and friends to join you in creating their own versions, whether they opt for the classic recipe or one of the many delicious variations. With its versatility and ease of preparation, this icebox cake is sure to become a beloved family favorite, making it a delightful addition to summer picnics, barbecues, and holiday gatherings alike. Enjoy the process and the delightful results of your Heavenly Strawberry Icebox Cake!