Introduction
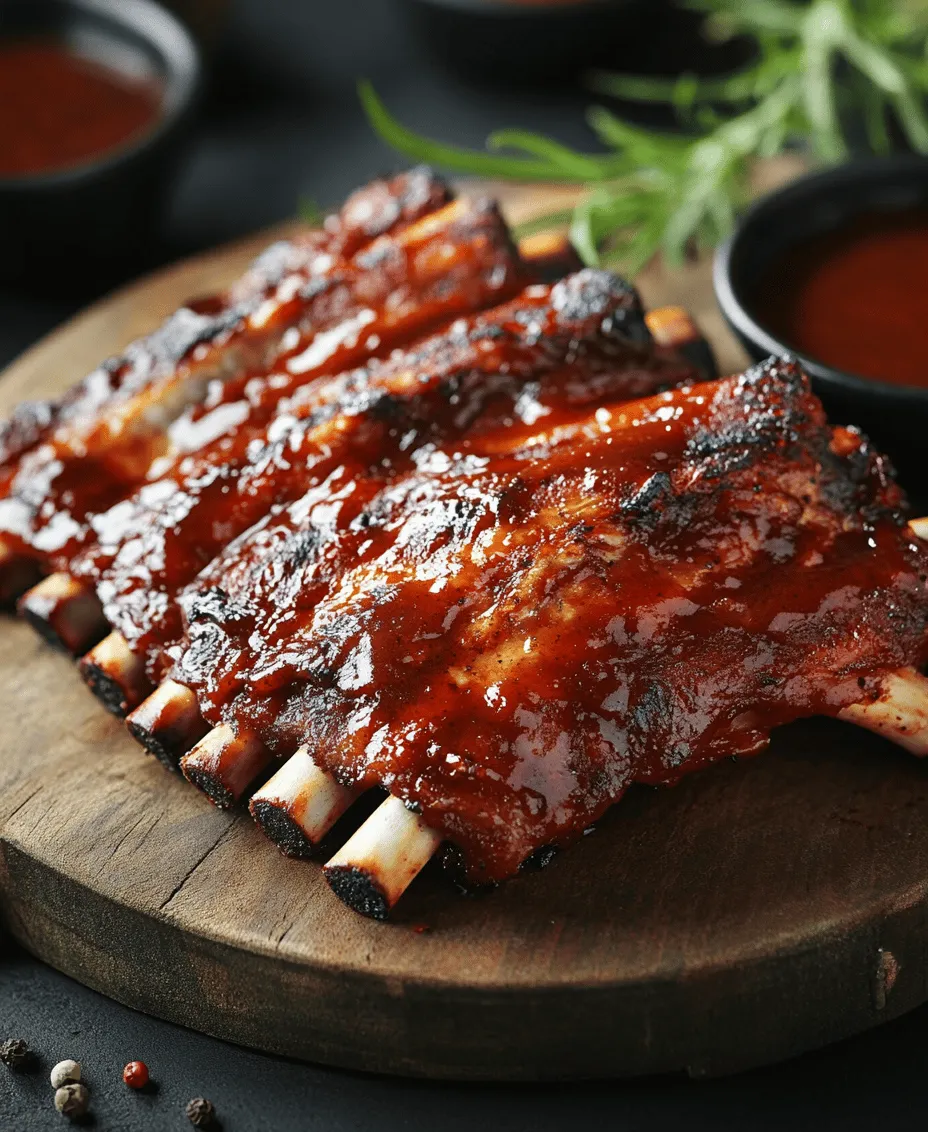
When it comes to barbecue, few dishes evoke the same level of excitement and indulgence as baby back ribs. These tender, flavorful morsels are the epitome of comfort food, perfect for summer cookouts or cozy family dinners. The allure of BBQ baby back ribs lies not just in their rich, smoky flavor but also in their melt-in-your-mouth texture that can only be achieved through slow cooking. With the right technique, you can create ribs that fall off the bone, tantalizing your taste buds with every bite.
This recipe for Fall-Off-the-Bone BBQ Baby Back Ribs is designed to be simple yet incredibly flavorful, making it accessible for both novice cooks and seasoned pitmasters alike. By utilizing a combination of slow cooking, a flavorful spice rub, and a delicious BBQ sauce, you’ll create ribs that are not only tender but also packed with mouthwatering taste. Join us on this culinary journey as we delve into the details of making the perfect BBQ baby back ribs, ensuring that you can impress friends and family with your grilling prowess.
Understanding Baby Back Ribs
Before diving into the recipe, it’s essential to understand what makes baby back ribs unique. Baby back ribs are taken from the top of the pig’s ribcage, located near the spine, and are shorter and smaller than spare ribs. Typically, a rack of baby back ribs contains 8 to 13 ribs and weighs between 1.5 to 2.5 pounds. Their meaty texture and delicate flavor make them a favorite among barbecue enthusiasts.
In comparison, spare ribs are cut from the belly side of the pig and are larger and meatier, often containing more fat. St. Louis-style ribs are a specific cut of spare ribs that have been trimmed to create a rectangular shape, making them easier to handle on the grill. While spare ribs provide a richer, fattier flavor, baby back ribs are prized for their tenderness and leaner meat, making them a popular choice for those who enjoy a balance of flavor and texture.
Nutritionally, baby back ribs offer several benefits. They are a good source of protein, which is essential for muscle repair and growth. Additionally, they contain various vitamins and minerals, including vitamin B12, zinc, and iron. However, because they are also high in fat, moderation is key when enjoying this delectable dish.
Essential Ingredients for Fall-Off-the-Bone Ribs
Creating the perfect baby back ribs requires a few essential ingredients that contribute to their tenderness and flavor. Here’s an overview of what you’ll need to achieve fall-off-the-bone perfection.
Baby Back Ribs
The star of this recipe is, of course, the baby back ribs. When selecting your ribs, look for a rack that has a good amount of meat on top but isn’t overly fatty. Opt for ribs that are bright pink and have a good amount of marbling; this will enhance the flavor and tenderness during cooking. If possible, choose high-quality, hormone-free, and antibiotic-free ribs for the best taste and health benefits.
Olive Oil
Olive oil plays a crucial role in this recipe. Not only does it help to keep the ribs moist during the cooking process, but it also aids in the adhesion of the spice rub. A light coating of olive oil before applying the rub will ensure that the flavors penetrate the meat beautifully.
Spice Rub
The spice rub is where the magic happens, infusing the ribs with a delightful depth of flavor. A combination of spices such as smoked paprika, garlic powder, onion powder, brown sugar, salt, and pepper works wonders.
– Smoked Paprika: This spice adds a rich, smoky flavor that mimics the taste of traditional barbecue cooking.
– Garlic Powder: Garlic brings a savory aroma and enhances the overall flavor of the ribs.
– Onion Powder: Adds a subtle sweetness and depth.
– Brown Sugar: This not only adds sweetness but also helps to create a beautiful caramelized crust on the ribs.
– Salt and Pepper: Essential for seasoning, these ingredients enhance the natural flavors of the meat.
BBQ Sauce
When it comes to BBQ sauce, you have the option to use store-bought or homemade. A high-quality BBQ sauce can elevate your ribs to the next level, providing a tangy, sweet, and smoky finish. If you prefer to make your own, consider a mixture of ketchup, apple cider vinegar, brown sugar, Worcestershire sauce, and spices for a robust homemade BBQ sauce that perfectly complements the ribs.
Apple Cider Vinegar and Honey
Apple cider vinegar and honey serve as flavor enhancers in this recipe. The vinegar adds a tangy brightness that cuts through the richness of the meat, while honey brings a touch of natural sweetness, balancing the overall flavor profile. Together, these two ingredients contribute to the complexity of the dish.
Preparation Steps for Perfect Ribs
Now that you’re familiar with the essential ingredients, let’s delve into the preparation steps to ensure your baby back ribs turn out perfectly every time.
Preheating the Oven
The first step in preparing your fall-off-the-bone baby back ribs is preheating your oven. Setting your oven to a low temperature—around 225°F (107°C)—is crucial for slow cooking. This low and slow method is what will allow the collagen in the meat to break down, resulting in tender, juicy ribs.
Preparing the Ribs
Before cooking, it’s important to prepare the ribs properly. Start by removing the membrane from the back of the ribs. This thin, tough layer can prevent flavors from penetrating the meat and can result in a less tender final product.
To remove the membrane, use a paper towel to grip it and pull it off. Start at one end of the ribs and work your way across, being careful not to tear the meat. Once the membrane is removed, pat the ribs dry with paper towels to eliminate excess moisture. This step is crucial, as it helps the spice rub adhere better and enhances the browning during cooking.
With your ribs prepped and your oven ready, you’re now prepared to coat the ribs in olive oil and apply the spice rub, setting the stage for a mouthwatering BBQ experience.
Stay tuned for the next part of this article, where we’ll guide you through the cooking process and reveal tips to achieve the ultimate fall-off-the-bone tenderness.
Crafting the Spice Rub: Proportions and Tips for Customization
Creating the perfect spice rub is essential for enhancing the flavor of your BBQ baby back ribs. A well-balanced rub combines sweet, savory, and spicy elements that complement the natural richness of the meat. Here’s a simple yet effective recipe for a classic BBQ rub that you can customize to suit your taste.
Basic Spice Rub Ingredients:
– 3 tablespoons brown sugar
– 2 tablespoons paprika (smoked or sweet)
– 1 tablespoon garlic powder
– 1 tablespoon onion powder
– 1 tablespoon chili powder
– 1 teaspoon cumin
– 1 teaspoon black pepper
– 1 teaspoon salt
– ½ teaspoon cayenne pepper (adjust for heat preference)
Customization Tips:
1. Sweetness: If you prefer a sweeter rub, increase the brown sugar or add a touch of honey or maple syrup to the mix.
2. Heat: For a spicier kick, increase the cayenne pepper or add crushed red pepper flakes, depending on your heat tolerance.
3. Herbs: Incorporate dried herbs like thyme or oregano for an herby touch.
4. Experimentation: Don’t hesitate to experiment with unique spices like coriander, mustard powder, or even coffee grounds for a deeper flavor profile.
Mix all the ingredients in a bowl and store any leftover rub in an airtight container for future use. This spice rub not only enhances the flavor of your ribs but can also be utilized on chicken, pork shoulder, or even vegetables.
Seasoning the Ribs: Techniques for Even Application
Once you’ve prepared your spice rub, it’s time to season your ribs. Proper seasoning is crucial for ensuring that each bite is packed with flavor. Here are some techniques to achieve an even application:
1. Preparation: Pat the ribs dry with paper towels to remove excess moisture. This step allows the rub to adhere better to the meat.
2. Application: Generously sprinkle the spice rub over both sides of the ribs. Use your hands to massage the rub into the meat, ensuring every inch is covered. Be gentle to avoid tearing the meat.
3. Resting Time: For maximum flavor, wrap the seasoned ribs in plastic wrap and let them rest in the refrigerator for at least 1 hour, or ideally overnight. This allows the spices to penetrate the meat and develop deeper flavors.
Cooking Techniques for Tender, Flavorful Ribs
Wrapping and Baking: Purpose of Foil in Slow Cooking
The method in which you cook your ribs can make or break the final product. Wrapping the ribs in foil is a key step in achieving that fall-off-the-bone tenderness. Here’s how and why it works:
1. Moisture Retention: Wrapping the ribs in foil creates a steam pocket that keeps the meat moist during the cooking process. This is crucial in breaking down the connective tissues in the ribs, resulting in tender meat.
2. Temperature Control: By wrapping the ribs, you maintain a consistent temperature, allowing for even cooking. This is especially important when using a low-and-slow method.
3. Baking Instructions: Preheat your oven to 300°F (150°C). Place your wrapped ribs on a baking sheet and cook for 2.5 to 3 hours, depending on the thickness of the ribs. The goal is to achieve an internal temperature of about 190°F (88°C) for perfect tenderness.
Timing and Temperature: Importance of Patience in Cooking
Patience is key when cooking baby back ribs. The low-and-slow cooking method allows the flavors to meld and the meat to become tender. Here are some essential timing and temperature tips:
– Low Temperature: Cooking at a low temperature (around 300°F) for an extended period allows the fat to render out of the meat and the collagen to break down, resulting in tender ribs.
– Check Temperature: Use a meat thermometer to monitor the internal temperature. When it reaches 190°F, you know you’re on the right track.
– Resting Time: Once the ribs are done cooking, allow them to rest for about 10-15 minutes before unwrapping. This lets the juices redistribute throughout the meat, keeping them moist when sliced.
Preparing the Glaze: Balancing Flavors for the Perfect Finish
The glaze is the final touch that elevates your BBQ baby back ribs. A good glaze should balance sweetness, acidity, and spice. Here’s a simple recipe to prepare a delicious barbecue glaze:
BBQ Glaze Ingredients:
– 1 cup of your favorite BBQ sauce (store-bought or homemade)
– 2 tablespoons apple cider vinegar
– 1 tablespoon honey or brown sugar (for sweetness)
– 1 teaspoon Worcestershire sauce
– 1 teaspoon mustard (for tang)
Preparation:
1. In a small saucepan, combine all the glaze ingredients over medium heat.
2. Bring to a simmer and cook for about 5-10 minutes, stirring occasionally, until the glaze thickens slightly.
3. Taste and adjust the sweetness or acidity if necessary.
This glaze can be applied during the last stages of cooking for a sticky, caramelized finish.
The Finishing Touch: Broiling for Caramelization
Explanation of Broiling and Its Benefits for BBQ Ribs
Broiling is a cooking technique that uses high heat from above to create a beautifully caramelized crust on your ribs. This step is essential for achieving that signature BBQ flavor and appealing appearance.
When you broil your ribs, the sugars in the glaze caramelize, creating a rich, flavorful exterior while keeping the meat juicy inside.
Tips for Achieving the Right Caramelization Without Burning
Here are some tips to ensure you achieve perfect caramelization without burning your ribs:
1. Positioning: Place the oven rack about 6 inches from the broiler element. This distance is crucial to prevent burning while still allowing for effective caramelization.
2. Watch Closely: Broiling is a quick process, so keep a close eye on the ribs. They can go from beautifully caramelized to burnt in a matter of minutes.
3. Baste Frequently: During the broiling process, brush the ribs with additional glaze every 1-2 minutes to enhance flavor and moisture.
Visual Cues to Look for During the Broiling Process
– Color Change: Look for the glaze to become bubbly and start to darken in color.
– Caramelization: You should see a glossy finish and slight char forming on the ribs, indicating that caramelization is taking place.
– Fragrance: The aroma should be rich and enticing, signaling that the glaze is caramelizing perfectly.
Serving Suggestions and Pairings
How to Cut and Serve the Ribs for Maximum Presentation
After your ribs have been cooked and glazed to perfection, it’s time to serve them. For the best presentation:
1. Cutting: Place the ribs on a cutting board and use a sharp knife to slice between the bones, creating individual portions. This not only makes them easier to eat but also enhances the visual appeal.
2. Serving: Arrange the ribs on a platter, with the meat facing up. Drizzle a little extra BBQ sauce over the top for added color and flavor.
Recommended Sides
To complement your BBQ baby back ribs, consider serving the following sides:
– Coleslaw: A tangy coleslaw adds a refreshing crunch that contrasts beautifully with the tender ribs.
– Cornbread: Sweet and buttery cornbread is a classic BBQ pairing that soaks up any extra sauce.
– Baked Beans: Smoky baked beans provide a hearty side that complements the rich flavors of the ribs.
Ideas for Extra BBQ Sauce and Garnishes
– Sauce Options: Offer a variety of BBQ sauces on the side, such as a spicy vinegar-based sauce, a sweet molasses sauce, or a tangy mustard sauce.
– Garnishes: Fresh chopped parsley or cilantro can add a pop of color to your presentation, while sliced jalapeños can bring an extra kick.
Storing and Reheating Leftovers
Best Practices for Storing Leftover Ribs
If you find yourself with leftovers (which is unlikely with such delicious ribs), here’s how to store them properly:
1. Cooling: Allow the ribs to cool to room temperature before storing.
2. Wrapping: Wrap the ribs tightly in plastic wrap or aluminum foil to prevent air exposure.
3. Refrigeration: Place the wrapped ribs in an airtight container or resealable bag and store them in the refrigerator for up to 3-4 days.
Methods for Reheating to Retain Tenderness and Flavor
To maintain the tenderness and flavor of your leftover BBQ ribs, reheating them properly is essential:
1. Oven Method: Preheat your oven to 250°F (120°C). Unwrap the ribs and place them on a baking sheet. Cover with foil to retain moisture and heat for about 20-30 minutes, or until warmed through.
2. Grilling Method: For a smoky flavor, reheat the ribs on a preheated grill over indirect heat. Cover and cook for about 10-15 minutes, turning occasionally to avoid charring.
3. Microwave Method: If you’re short on time, place the ribs on a microwave-safe plate, cover with a damp paper towel, and heat on medium power for 1-2 minutes until warmed through. This method may not yield the same texture as the oven or grill.
Conclusion
Making fall-off-the-bone BBQ baby back ribs is a labor of love that yields delicious results worth every minute spent. The combination of a flavorful spice rub, slow cooking techniques, and a perfectly balanced glaze transforms these ribs into a mouthwatering meal that will impress family and friends alike.
As you savor each tender bite, remember the joy of cooking and sharing this delectable dish. So go ahead, gather your loved ones, fire up the grill or oven, and dive into this BBQ adventure. Don’t forget to share your experience and any variations you try—after all, great food is best enjoyed together!
