Introduction
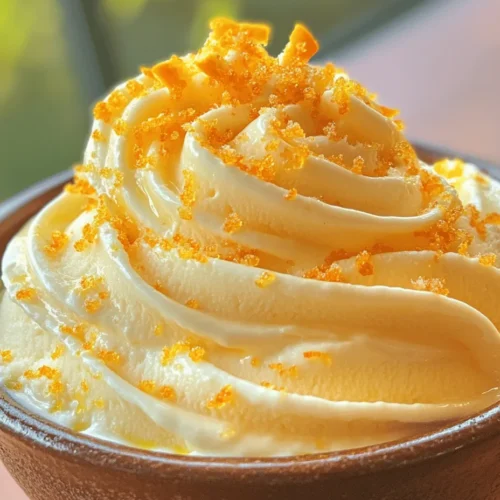
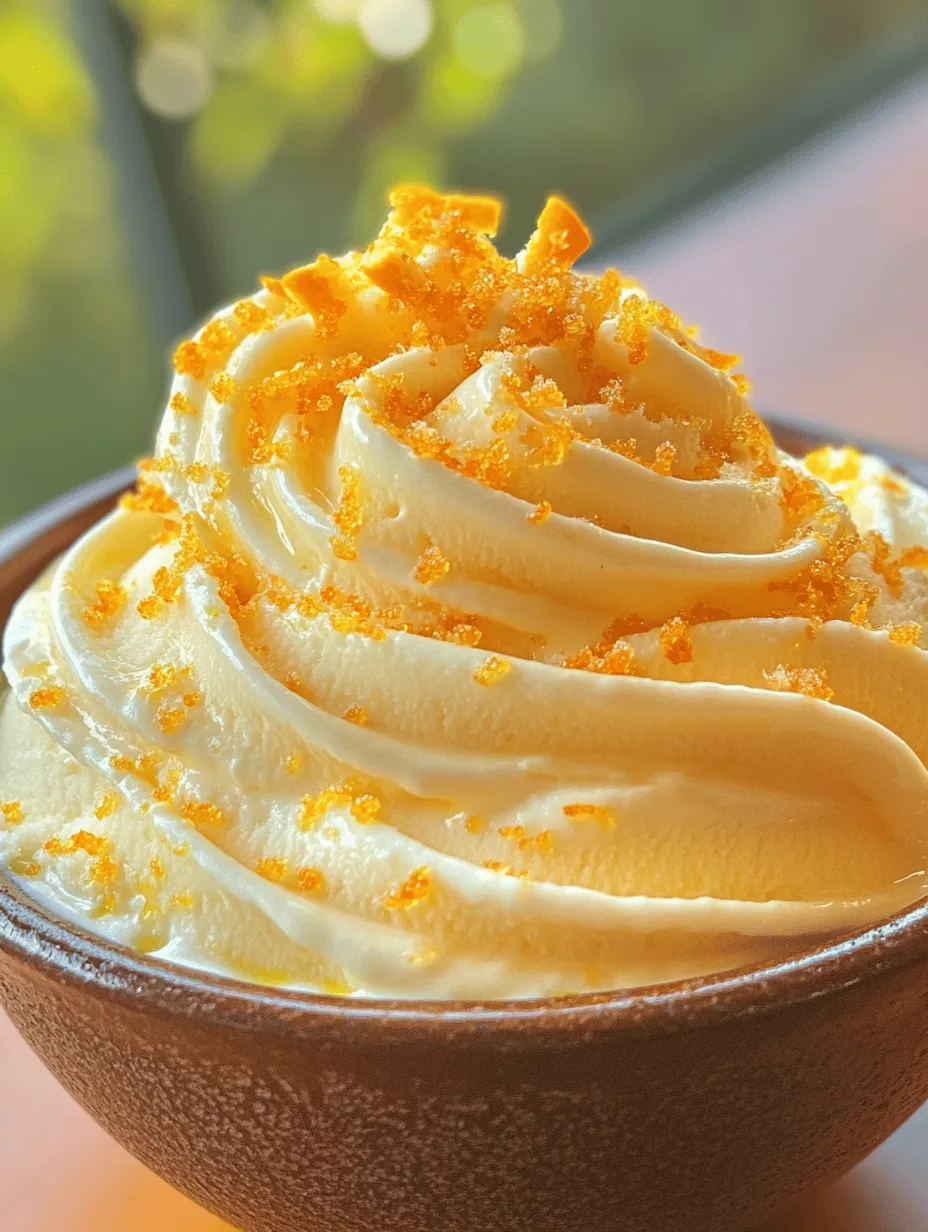
Nothing quite captures the essence of summer like the delightful and nostalgic flavors of orange dreamsicle ice cream. This dreamy dessert, which combines the bright, zesty taste of oranges with the creamy goodness of ice cream, brings back memories of warm days spent enjoying a refreshing treat. Whether you’re reminiscing about childhood summers or simply looking for a fun dessert to brighten your day, this creamy orange dreamsicle ice cream recipe is sure to satisfy your sweet tooth.
Making ice cream at home not only allows you to customize flavors and ingredients but also provides a sense of accomplishment that comes with crafting something delicious from scratch. With just a handful of simple ingredients, you can create a luscious, velvety ice cream that rivals anything found in the store. The joy of homemade ice cream is amplified during the warm weather months, making it the perfect treat for family gatherings, barbecues, or simply enjoying on your own.
One of the best aspects of this creamy orange dreamsicle ice cream recipe is its simplicity. Utilizing fresh, high-quality ingredients ensures you achieve the best flavors. With minimal effort, you can whip up a batch that will impress friends and family alike. Let’s dive into the ingredients that make this ice cream so special and learn how to prepare it step-by-step.
Understanding the Ingredients
Heavy Cream and Whole Milk: The Base of Creaminess
To achieve that rich, creamy texture synonymous with premium ice cream, heavy cream and whole milk are essential. Heavy cream boasts a high fat content, typically around 36%, which contributes to the ice cream’s smooth mouthfeel and prevents ice crystals from forming during freezing. Whole milk, with its lower fat content, adds additional creaminess while balancing the richness of the heavy cream. This combination creates a luxurious base that is essential for any ice cream recipe.
Freshly Squeezed Orange Juice: The Star Ingredient
The highlight of any dreamsicle ice cream is, of course, the fresh orange juice. While store-bought orange juice may be convenient, it often lacks the vibrant flavor and freshness you can achieve with freshly squeezed juice. Using fresh oranges allows you to capture the full essence of the fruit, resulting in a more authentic and delicious final product. The natural sweetness and acidity of fresh orange juice bring a bright flavor that elevates the entire ice cream experience.
Orange Zest: Enhancing Citrus Flavor
In addition to the juice, we’ll be incorporating orange zest into our recipe. Zest is the outer, colored part of the orange peel, and it contains essential oils that pack a powerful citrus punch. Adding orange zest not only intensifies the orange flavor in your ice cream but also contributes aromatic notes that enhance the overall taste profile. This extra layer of citrus makes the ice cream even more refreshing and enjoyable.
Granulated Sugar: Balancing Sweetness
Sugar plays a crucial role in our creamy orange dreamsicle ice cream. It not only sweetens the mixture but also impacts the texture of the final product. Sugar lowers the freezing point of the mixture, ensuring that your ice cream remains soft and scoopable, rather than rock-hard. Striking the right balance of sweetness is key; you want the orange flavor to shine through without being overwhelming. This recipe will guide you in achieving the perfect sweetness level that complements the bright citrus notes.
Vanilla and Orange Extracts: Adding Depth
To add depth to our ice cream, we’ll be using both vanilla and orange extracts. Vanilla extract provides a warm, rich flavor that pairs beautifully with the citrus notes, creating a well-rounded taste experience. Orange extract amplifies the orange flavor, reinforcing the fresh juice and zest. Together, these extracts enhance the overall complexity of the ice cream, transforming it from a simple treat into a gourmet dessert.
Salt: The Secret Ingredient
While it may seem counterintuitive to add salt to a sweet dish, a pinch of salt serves as the secret ingredient in our creamy orange dreamsicle ice cream. Salt acts to balance and enhance sweetness while also heightening the flavors of the other ingredients. It helps to bring out the natural flavors of the oranges and creates a more harmonious blend. Just a small amount goes a long way, making the overall taste more vibrant and enjoyable.
Optional Candied Orange Peel: Texture and Flavor Boost
For those looking to take their creamy orange dreamsicle ice cream to the next level, consider adding candied orange peel. This optional ingredient adds texture and an extra layer of orange flavor that complements the ice cream beautifully. Candied orange peel provides a chewy contrast to the creamy ice cream, creating a delightful sensory experience. If you’re feeling adventurous, you can even make your own candied orange peel at home, adding a personal touch to your dessert.
Step-by-Step Instructions for Making Creamy Orange Dreamsicle Ice Cream
Preparing the Mixture
Now that you’re familiar with the essential ingredients, it’s time to prepare the mixture for your creamy orange dreamsicle ice cream. The process is straightforward, making it accessible for both novice and experienced ice cream makers alike.
1. Gather Your Ingredients: Start by gathering all the ingredients needed: heavy cream, whole milk, freshly squeezed orange juice, orange zest, granulated sugar, vanilla extract, orange extract, salt, and optional candied orange peel. Having everything on hand will streamline the preparation process.
2. Juice the Oranges: Begin by juicing your oranges to yield fresh orange juice. Depending on the size and juiciness of your oranges, you will need approximately 1 to 1.5 cups of juice. Make sure to strain the juice to remove any pulp for a smoother texture in your ice cream.
3. Mix the Base: In a large mixing bowl, combine the heavy cream, whole milk, granulated sugar, and a pinch of salt. Whisk together until the sugar is fully dissolved and the mixture is smooth. This step is crucial as it ensures that the sugar is evenly distributed throughout the base.
4. Incorporate the Flavors: Once the base is well mixed, add the freshly squeezed orange juice, orange zest, vanilla extract, and orange extract. Give the mixture another good whisk to ensure that all the flavors are thoroughly combined. The vibrant color and scent of the mixture will be a delightful preview of the creamy orange dreamsicle ice cream to come.
5. Optional Step – Add Candied Orange Peel: If you choose to include candied orange peel, fold it into the mixture at this stage. This will allow the flavors to meld together, infusing the ice cream with an additional burst of orange goodness.
6. Chill the Mixture: Cover the mixing bowl with plastic wrap or a lid and place it in the refrigerator. Allow the mixture to chill for at least 2 hours, or overnight if time permits. Chilling the mixture before churning helps to enhance the flavor and results in a smoother texture.
7. Churn the Ice Cream: Once your mixture is thoroughly chilled, it’s time to churn it in an ice cream maker. Follow the manufacturer’s instructions for your specific model, as churning times can vary. Generally, you will want to churn the mixture until it thickens and reaches a soft-serve consistency.
8. Freeze the Ice Cream: After churning, transfer the ice cream to an airtight container. Smooth the top with a spatula and press a piece of parchment paper directly onto the surface to prevent ice crystals from forming. Seal the container with its lid and place it in the freezer for at least 4 hours, or until the ice cream is firm.
By following these initial steps, you will be well on your way to creating a delicious batch of creamy orange dreamsicle ice cream that captures the essence of summer in every bite. The process is simple, and the anticipation of tasting your homemade creation will certainly make the effort worthwhile. Stay tuned for the next part of this recipe, where we’ll delve into tips for achieving the perfect ice cream consistency and answer some common questions about homemade ice cream.

Whisking the Ingredients
To achieve the perfect creamy texture for your orange dreamsicle ice cream, proper whisking is crucial. Start by combining the heavy cream, whole milk, sugar, and orange zest in a large mixing bowl. Using a whisk or an electric mixer, blend these ingredients until the sugar is fully dissolved. This step usually takes about 2-3 minutes. Whisking not only combines the ingredients but also introduces air, which contributes to the light and airy texture of the final product.
Once the sugar has dissolved, gently fold in the fresh orange juice and vanilla extract. This gentle folding helps maintain the airiness you created during the initial whisking. Be careful not to overmix at this stage, as you want to keep the mixture light and fluffy. The result should be a smooth, well-integrated base that offers a delightful balance of creaminess and citrus brightness.
Churning the Ice Cream
After whisking, it’s time to churn the ice cream. Pour your mixture into an ice cream maker, following the manufacturer’s instructions. If you don’t have an ice cream maker, there are alternative methods for churning, such as using a stand mixer or a hand mixer, but using an ice cream maker yields the best results.
As the mixture churns, keep an eye on its consistency. You’re looking for a soft-serve texture, which typically takes about 20-30 minutes of churning in an ice cream maker. The mixture should thicken and increase in volume as air is incorporated. If you’re using a non-traditional method, you may need to stop and scrape down the sides of the bowl occasionally to ensure even mixing.
Freezing for Firmness
Once you achieve that luscious soft-serve consistency, it’s time to transfer the ice cream to a suitable container for freezing. Choose an airtight container to help maintain freshness and prevent ice crystals from forming. If you want to avoid ice crystals further, press a piece of plastic wrap directly onto the surface of the ice cream before sealing the container. This minimizes air exposure, contributing to a smoother texture when it’s time to serve.
Freeze the ice cream for at least 4-6 hours or overnight for best results. The longer the ice cream freezes, the firmer it will become. If you plan to serve it within a couple of hours, a brief freeze will suffice, but be aware that it may be softer than desired.
Serving Suggestions
When it’s time to serve your creamy orange dreamsicle ice cream, the presentation can elevate the whole experience. Here are some creative serving suggestions:
1. Classic Cones: Serve in waffle or sugar cones for a nostalgic touch. The crunch of the cone beautifully contrasts with the creamy texture of the ice cream.
2. Elegant Bowls: For a more sophisticated presentation, dish the ice cream into small dessert bowls or ramekins. Top it with a dollop of whipped cream and a sprinkle of orange zest.
3. Garnishing Options: Enhance the visual appeal by adding garnishes. Consider using fresh mint leaves, candied orange peel, or a drizzle of chocolate sauce for an extra indulgent touch. You can also create a fun sundae by layering the ice cream with fresh fruit or a fruit compote.
4. Ice Cream Sandwiches: For a playful twist, use your ice cream to make sandwiches with soft cookies or graham crackers.
Flavor Variations and Customization
One of the best aspects of making homemade ice cream is the ability to customize flavors. Here are some ideas to experiment with:
Experimenting with Other Citrus Fruits
While the orange flavor is the star of this recipe, don’t hesitate to explore other citrus fruits. You can substitute fresh orange juice with lemon, lime, or even grapefruit juice for a refreshing twist. Each fruit will bring its own unique flavor profile, allowing you to tailor the ice cream to your taste preferences. For instance, a lemon dreamsicle could be a zesty alternative that’s perfect for summer.
Adding Mix-ins for Extra Texture
To take your creamy orange dreamsicle ice cream to the next level, consider adding mix-ins. While candied orange peel adds a delightful texture and burst of flavor, you can also try incorporating:
– Chocolate Chips: Dark or white chocolate chips can add a rich contrast to the citrus flavor.
– Nuts: Chopped almonds or pecans provide a satisfying crunch.
– Dried Fruit: Dried cranberries or cherries can complement the orange flavor beautifully.
Be sure to add these mix-ins during the last few minutes of churning to ensure they’re evenly distributed throughout the ice cream.
Vegan and Dairy-Free Alternatives
If you’re looking to make this recipe vegan or dairy-free, you can easily adapt it by using coconut milk or almond milk instead of heavy cream and whole milk. Coconut milk will provide a rich, creamy base that complements the orange flavor beautifully. You can also use a combination of coconut cream and almond milk to achieve the desired creaminess. Additionally, ensure that your sugar is vegan-friendly, and consider using maple syrup or agave nectar for a natural sweetener.
Benefits of Homemade Ice Cream
Healthier Options Compared to Store-Bought
One of the primary benefits of making homemade ice cream is the ability to control the ingredients. Store-bought varieties often contain preservatives, artificial flavors, and high levels of sugar. When you create your ice cream at home, you can choose natural ingredients and adjust the sweetness to your liking. This means you can enjoy a treat that’s not only delicious but also healthier.
Satisfying and Rewarding Experience
There’s something immensely satisfying about making ice cream from scratch. The process allows you to connect with your culinary creativity and share delightful treats with family and friends. The joy of serving homemade ice cream — especially when it’s a nostalgic flavor like orange dreamsicle — can create cherished memories that last a lifetime.
Conclusion
Making creamy orange dreamsicle ice cream is not just about the end product; it’s about the experience of creating something special. The vibrant flavors and delightful texture of this homemade treat bring back memories of childhood summers and warm evenings. As you experiment with the recipe, feel free to personalize it with your favorite citrus fruits, mix-ins, or alternative ingredients.
Whether enjoyed in a cone, a bowl, or as part of a fun dessert presentation, this ice cream is sure to impress. So gather your ingredients, invite friends or family to join you in the kitchen, and savor the freshness of homemade ice cream. The nostalgic flavors and the joy of creation will make this a cherished recipe in your collection for years to come. Enjoy every scoop!