Introduction
There’s an undeniable joy that comes with creating homemade jams. The process transforms simple fruits into luscious preserves, capturing the essence of summer in a jar. Among the myriad of flavors you can craft, Strawberry Bliss Jam stands out for its sweet and silky texture, making it a delightful addition to any breakfast table. This jam is not only a treat for your taste buds but also a testament to the beauty of using fresh, high-quality ingredients.
Using fresh strawberries is crucial for achieving the best flavor in your jam. The sweeter the fruit, the more vibrant and delicious your final product will be. In this article, we will take you through the delightful journey of making Sweet & Silky Strawberry Bliss Jam. You will learn about each ingredient’s role, discover cooking tips for perfecting your jam, and understand the best methods for storage to keep your jam fresh and tasty for as long as possible.
Understanding the Ingredients
Fresh Strawberries: The Star of the Jam
At the heart of this Sweet & Silky Strawberry Bliss Jam are the strawberries. Known for their bright red hue, juicy texture, and sweet flavor, strawberries are a favorite among fruit lovers. Beyond their deliciousness, they are packed with nutritional benefits, making them a fantastic choice for homemade preserves. Strawberries are low in calories and high in vitamin C, antioxidants, and dietary fiber, contributing to overall health and wellness.
How to Select the Best Strawberries
When choosing strawberries for your jam, look for berries that are bright red, firm, and free from blemishes or soft spots. Fresh strawberries should have a sweet aroma and green, vibrant leaves. It’s best to buy them in season, as they tend to be more flavorful and affordable. If possible, consider visiting a local farmers’ market, where you can often find freshly picked strawberries at their peak ripeness.
Granulated Sugar: Sweetening the Mix
Granulated sugar plays a pivotal role in the jam-making process. It not only sweetens the strawberries but also helps in the preservation of the jam, preventing the growth of bacteria and mold. Sugar acts as a natural preservative, allowing your Strawberry Bliss Jam to be enjoyed long after the strawberries have gone out of season.
Alternatives to Granulated Sugar
For those looking to reduce their sugar intake or seeking alternative sweeteners, options such as honey, agave syrup, or maple syrup can be used. However, keep in mind that substituting sugar may alter the texture and shelf-life of your jam. If you choose to experiment with alternatives, ensure you adjust the amount based on the sweetness level you desire.
Lemon Juice: The Secret to Balance
Adding lemon juice to your Strawberry Bliss Jam is essential for achieving the perfect balance of flavors. The acidity of lemon juice enhances the sweetness of the strawberries, creating a harmonious blend that tantalizes the palate. Additionally, lemon juice is a natural preservative that helps maintain the jam’s vibrant color and prevents spoilage.
Benefits of Lemon Juice Beyond Flavor
Beyond its role in flavor balance, lemon juice is rich in vitamin C and antioxidants, adding to the health benefits of your homemade jam. Its bright, zesty flavor not only elevates the taste of the strawberries but also adds a refreshing twist that makes your jam unique.
Pectin: Enhancing Texture
Pectin is a natural thickening agent that helps achieve the desired consistency of your jam. It acts as a gelling agent, binding the sugars and liquids together to create that luscious, spreadable texture.
What is Pectin and Why It’s Used
Pectin occurs naturally in many fruits, especially in the skins and cores. For those looking to make jam without added pectin, certain fruits like apples and citrus fruits are excellent sources. On the other hand, commercial pectin is widely available and can be used to ensure consistent results.
Natural Sources of Pectin vs. Store-Bought
If you opt for a natural approach, consider using fruits high in pectin, such as green apples or citrus peels, which can be cooked alongside your strawberries to enhance the jam’s texture. Conversely, store-bought pectin is convenient and allows for quicker jam-making, especially if you’re looking to create a batch in a short amount of time.
Vanilla Extract: A Hint of Warmth
To elevate your Strawberry Bliss Jam, a splash of vanilla extract can make a world of difference. This ingredient adds a warm, aromatic note that complements the sweetness of the strawberries beautifully. The flavor profile of vanilla enhances the overall taste experience, turning a simple jam into a gourmet delight.
Step-by-Step Instructions
Preparing the Strawberries: The Maceration Process
Macerating your strawberries is a crucial step in making Sweet & Silky Strawberry Bliss Jam. This process involves gently mixing the strawberries with sugar and letting them sit for a while, allowing the fruit to release its natural juices. The result is a syrupy mixture that enhances the flavor and texture of your jam.
Importance of Macerating Strawberries
Maceration not only helps dissolve the sugar, but it also allows the strawberries to soften, making them easier to break down during cooking. This step is vital for achieving that silky texture that characterizes the Strawberry Bliss Jam. Additionally, by letting the strawberries sit with the sugar, you intensify their flavor, resulting in a more delicious final product.
Tips for Achieving the Best Results
To achieve the best results during the maceration process, slice your strawberries into halves or quarters, depending on their size. The smaller the pieces, the more surface area for the sugar to work its magic, helping to draw out the juices more effectively. Allow the strawberries to sit for at least 30 minutes, although longer is often better. During this time, stir occasionally to ensure even distribution of sugar.
As you prepare to embark on the journey of making your Sweet & Silky Strawberry Bliss Jam, remember that the key to a successful jam lies in the quality of your ingredients and the care you take during the preparation process. In the next sections, we will dive deeper into the cooking steps, tips for perfecting your jam, and methods for storing your delightful creation. Stay tuned for more delicious details!
Cooking the Mixture: From Bowl to Pan
Now that you have your strawberries prepared and your ingredients measured, it’s time to transfer the mixture from the bowl to the pan. Start by pouring your strawberry mixture into a large, heavy-bottomed saucepan. This type of pan ensures even heat distribution, which is crucial for proper cooking and preventing any burning or sticking.
Detailed Cooking Process and Temperature Control
Begin heating the mixture over medium heat. As the strawberries start to warm up, they will release their juices, creating a syrupy base. Stir frequently to help dissolve the sugar completely and to prevent the mixture from sticking to the bottom of the pan. It’s essential to keep an eye on the temperature; if it gets too hot too quickly, you risk burning the sugar, which would impart a bitter flavor to your jam.
Importance of Stirring and Monitoring
Stirring is not just about mixing; it plays a critical role in ensuring that your jam cooks evenly. Use a wooden spoon or a silicone spatula to scrape the bottom of the pan regularly. This technique helps prevent any bits from caramelizing too much. Additionally, monitoring the mixture is essential. When you notice it bubbling vigorously, it’s time to adjust the heat slightly to maintain a gentle simmer.
Simmer and Thicken: Achieving the Perfect Consistency
As the mixture heats up, you’ll notice it begin to thicken. This is where the magic happens! Continue to simmer the jam, stirring occasionally, and keep an eye on the texture. The cooking time will generally range from 15 to 30 minutes, depending on your desired consistency. Remember, your jam will thicken further once it cools down, so aim for a consistency that is slightly thinner than your final preference.
Techniques for Mashing and Texture Preferences
The texture of your jam is a personal choice. If you prefer a smoother jam, you can use a potato masher or immersion blender to puree the strawberries to your liking. For those who enjoy a chunkier texture, simply mash the strawberries lightly with a fork, leaving some pieces intact. This approach gives your jam a beautiful, rustic quality.
How to Test for Doneness Using the Cold Plate Method
To ensure your jam has reached the perfect consistency, utilize the cold plate method. Before you start cooking, place a couple of small plates in the freezer. After about 15 minutes of simmering, take one plate out and drop a spoonful of jam onto it. Let it sit for a minute, then run your finger through the jam. If it holds its shape and doesn’t run back together immediately, your jam is ready. If it’s too runny, continue simmering and test again after a few minutes.
Adding Flavor: When and How to Include Vanilla
The addition of vanilla can elevate your strawberry jam, adding a warm, aromatic note. Once your jam reaches the desired consistency, remove it from the heat and stir in pure vanilla extract. The timing is key; adding vanilla too early can cause its flavor to dissipate during the cooking process. Aim to add it just before jarring your jam.
Timing for Flavor Additions for Best Results
Aside from vanilla, you can consider adding other flavorings such as lemon juice or zest for a bright, citrusy twist. If you choose to incorporate these flavors, add them toward the end of the cooking process, just like the vanilla. This method ensures that their fresh tastes remain vibrant in your finished product.
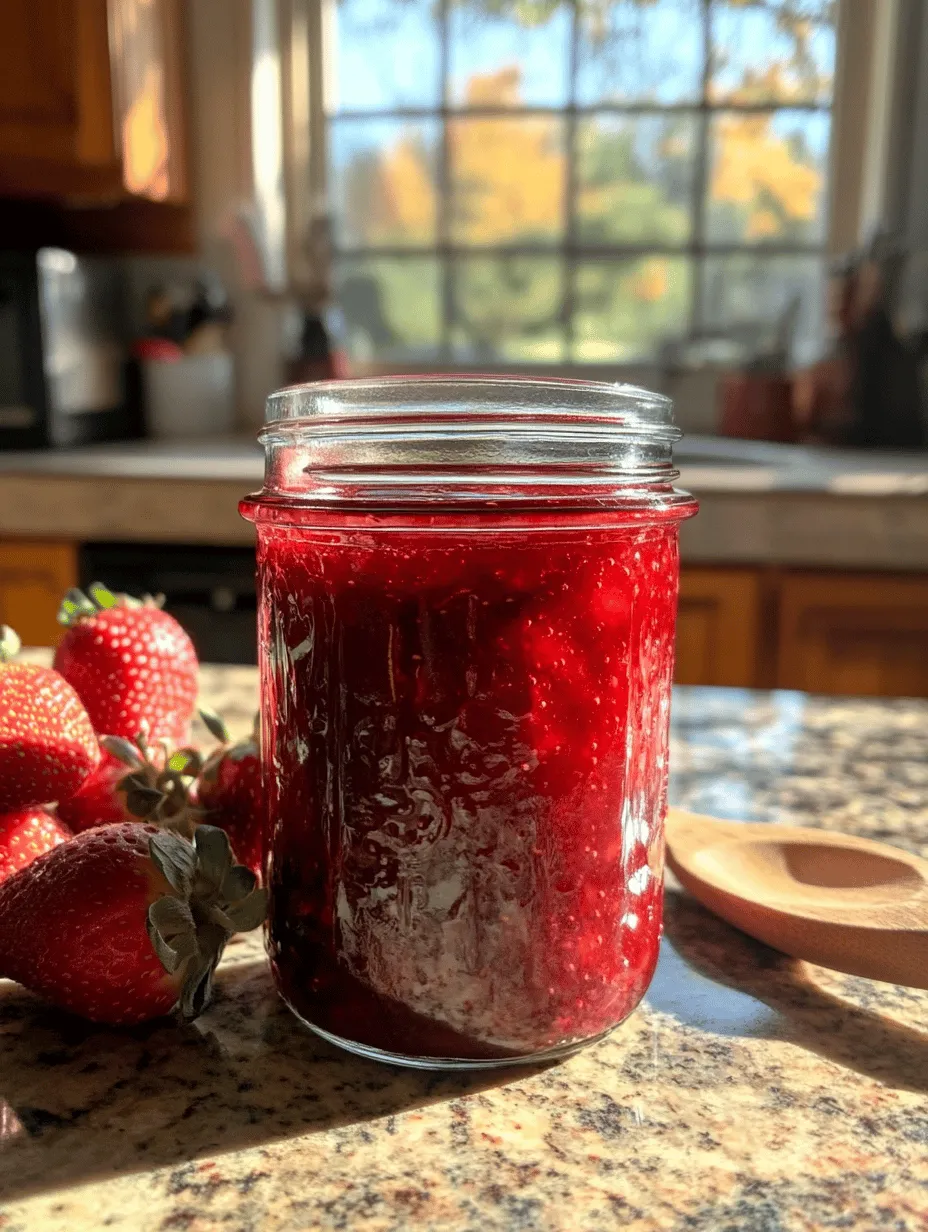
Jarring the Jam: Proper Techniques for Storage
After your jam has achieved the perfect consistency and flavor, it’s time to jar it. Proper jarring techniques are crucial for preserving your delicious creation. Begin by sterilizing your jars and lids in boiling water for at least 10 minutes. This step is essential to prevent any bacteria from spoiling your jam.
Importance of Sterilization and Proper Sealing
Once your jars are sterilized, carefully remove them from the water and let them cool slightly. Fill each jar with hot jam, leaving about 1/4 inch of headspace to allow for expansion during the sealing process. Wipe the rims of the jars with a clean, damp cloth to ensure a tight seal. Place the sterilized lids on top and screw on the metal bands until they are fingertip-tight.
Tips for Pouring and Filling Jars
Pouring the jam can be a bit tricky, so consider using a funnel to minimize spills. If you’re working with multiple jars, fill each one gradually to maintain an even temperature throughout, which is essential for proper sealing. If you happen to spill any jam outside the jar, don’t worry; just make sure to clean it up before sealing to ensure a good airtight seal.
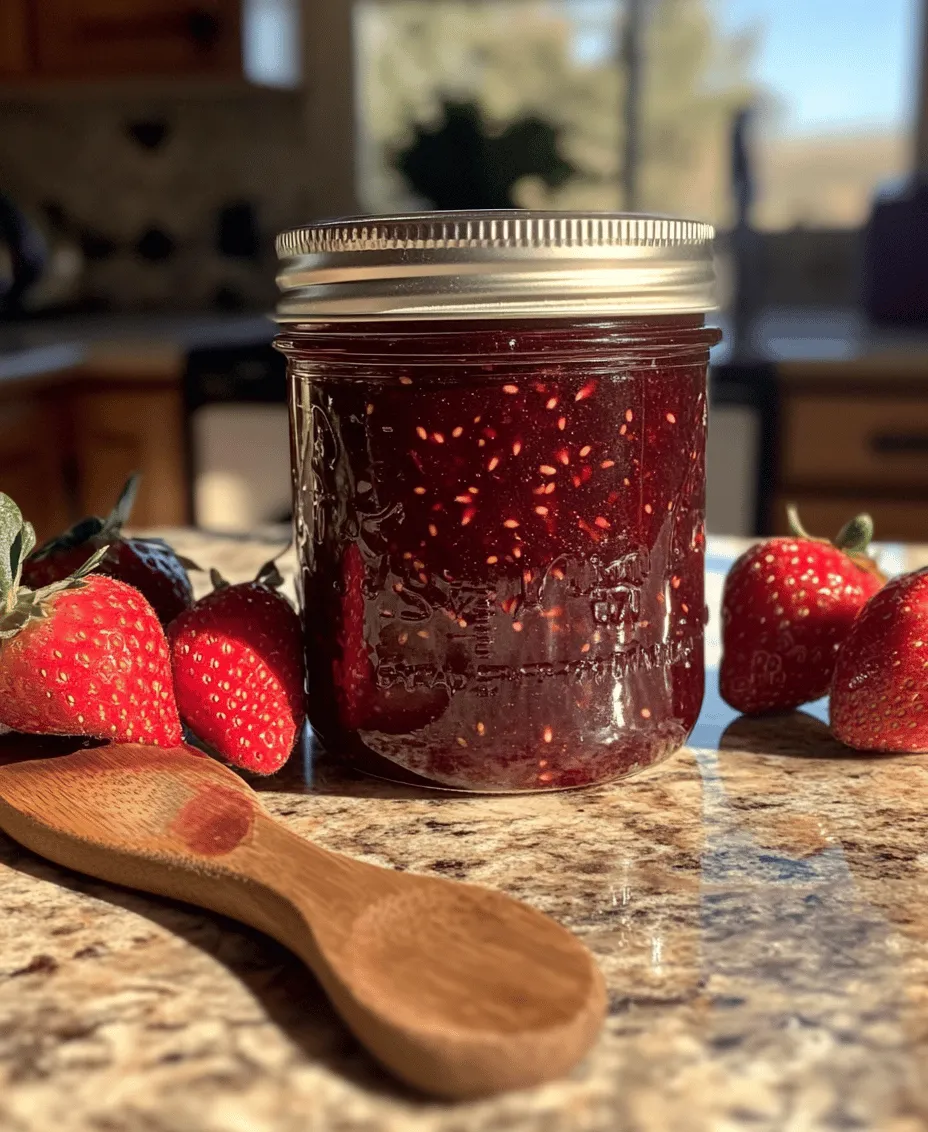
Cooling and Storage Options
Once your jars are filled, it’s time to cool them down. Place them upright on a clean kitchen towel or wire rack to cool completely at room temperature. Avoid moving them around during this time, as any disturbance can compromise the seal.
Immediate Use vs. Long-Term Storage
If you plan to use your strawberry jam soon, you can store it in the refrigerator for up to three weeks. However, if you want to preserve it for a longer period, canning is the way to go.
How to Store in the Refrigerator
Simply place the jar in your refrigerator once it has cooled completely. Homemade strawberry jam can last up to three weeks when stored this way. Always use a clean spoon to scoop out the jam to maintain its freshness.
Water Bath Canning Process for Long-Term Preservation
For long-term storage, consider the water bath canning method. After filling your jars and sealing them, process the jars in a boiling water bath for 10-15 minutes. Ensure the jars are completely submerged in water, with at least an inch of water above the lids. Once processed, remove the jars and let them cool completely.
Shelf Life and Storage Tips for Homemade Jam
Properly canned strawberry jam can last for up to a year when stored in a cool, dark place. Always label your jars with the date they were made, so you can keep track of their freshness.
Signs of Spoilage to Watch For
Homemade jam can spoil if not stored properly. Always check for signs of spoilage before using, such as off smells, mold, or an unusual texture. If you notice any of these signs, it’s best to discard the jam.
Creative Uses for Strawberry Bliss Jam
Strawberry Bliss Jam is incredibly versatile and can be used in numerous delicious ways.
Breakfast Ideas: Spreading on Toast, Pancakes, and Waffles
Start your day with a delightful breakfast by spreading strawberry jam on toast, pancakes, or waffles. The sweetness of the jam pairs perfectly with buttery bread or fluffy pancakes, making for a satisfying morning treat.
Incorporating into Desserts: Tarts, Cakes, and Pastries
Your strawberry jam can also shine in desserts. Use it as a filling for tarts, cakes, or pastries. It can add a bright, fruity flavor to layered cakes or be swirled into cheesecake for an added touch of sweetness.
Delicious Pairings: Cheese and Charcuterie Boards
For a sophisticated touch, include strawberry jam on your cheese and charcuterie boards. It pairs beautifully with creamy cheeses like brie or tangy goat cheese, adding a delightful contrast.
Unique Recipes Featuring Strawberry Bliss Jam
Consider incorporating your jam into unique recipes such as thumbprint cookies, where the jam serves as a sweet center, or blend it into yogurt for a refreshing snack. The possibilities are endless!
Conclusion
Making Strawberry Bliss Jam at home is not just a rewarding culinary endeavor; it’s a delightful way to capture the essence of summer and preserve it for year-round enjoyment. The process allows you to customize flavors and create a product that is uniquely yours.
Don’t hesitate to experiment with variations—consider adding herbs like basil or mint for a refreshing twist. Sharing your homemade preserves with friends and family not only spreads joy but also fosters a connection through the love of food. Embrace the art of jam making, and create lasting memories with every jar you fill.